
Build Your First AI Agent with n8n in 2026 Tutorial
Over the last few years, I’ve watched the world of AI automation mature from a bit of a techie hobby to something just about anyone can get real, meaningful value from—without wading through a forest of code or endless configuration screens. If you’re itching to take charge of your daily grind, wrangle tedious business tasks, or just have a bit of geeky fun building your own helper that truly works your way, you’re in the best place to start. In this step-by-step guide, I’ll show you exactly how to spin up your first AI agent using n8n in 2026, drawing on my hands-on experience coaching hundreds of beginners through their own lightbulb moments. Let’s roll up our sleeves and dig in.
Why Build AI Agents in n8n?
When I first encountered AI-driven automation, I’ll admit, I assumed it would be a right old headache—scripts to debug, endless variables, and all that technical rigmarole. Turns out, n8n has flipped things on their head. In 2026, AI agents have become a practical sidekick for both work and personal life. Imagine:
- Your own AI assistant that sends weekly market summaries and inspiring quotes to your inbox.
- Bespoke bots undertaking data research, email summaries, or any repetitive digital task with no fuss.
- Agents that tap real-time information and external APIs, make decisions, and adapt to ongoing instructions, all running in the background without draining your time.
This isn’t about complex code. The secret sauce is simply combining a few essential building blocks: a trigger, an AI model, memory, the right tools, and a delivery channel. Once you get your head around these, you’ll be off to the races.
Understanding the Two Ways to Run n8n
Cloud vs. Self-Hosting
If there’s one question that’s come up over and over in years of automation consulting, it’s this: Should I use n8n in the cloud, or set up my own instance? It boils down to what and how much you want to automate.
- Cloud: Quick, easy, and perfectly suitable for simple experiments or infrequent workflows. I’ve used it for the odd prototype and as a teaching tool.
- Self-hosting (VPS): This is where you get to unlock the real power of AI agents. No punishing usage caps. Stable, lightning-quick execution. Full data control and privacy. Running demanding workflows, such as agents scouring the web and pinging APIs all day, is a walk in the park. Plus, scaling up is a breeze, and it won’t cost you an arm and a leg.
Here’s the thing: self-hosting used to sound intimidating. You’d hear tales of tangled terminal commands and mysterious server incantations. The truth is, managed VPS providers now make it a breeze. You just pick a plan, choose pre-installed n8n, select your datacenter, and you’re set. No jargon, no hassle. Personally, I’ve found this the sweet spot where you get the benefits of control and privacy, without any headaches.
Getting Set Up: Your First n8n Instance
Choosing Your VPS Plan
Let’s get practical. When you log in to a reputable VPS provider and select to install n8n, you’ll be faced with a menu like kids in a sweet shop. “Which plan do I pick?” is another classic, and I can’t count how many times I’ve seen folks scratching their heads over RAM and CPU columns.
- Start with a mid-tier plan – a couple of vCPUs and a handful of gigabytes of RAM are more than enough not just for play, but for real, functioning agents and workflows.
- You can always scale up later if your automations grow. No need to break the bank upfront.
- Set your server’s region as close to you as possible. It knocks down lag and speeds things up noticeably.
- Use the standard n8n template, or have a go with a version featuring dozens of preloaded workflow examples—both are ready in minutes.
After checkout, you’ll get a fresh URL leading straight to your n8n dashboard. No smoke and mirrors—just login and you’re staring at the visual canvas, ready to build.
First Steps: Building Your AI Agent Workflow
Meet the Workflow Canvas
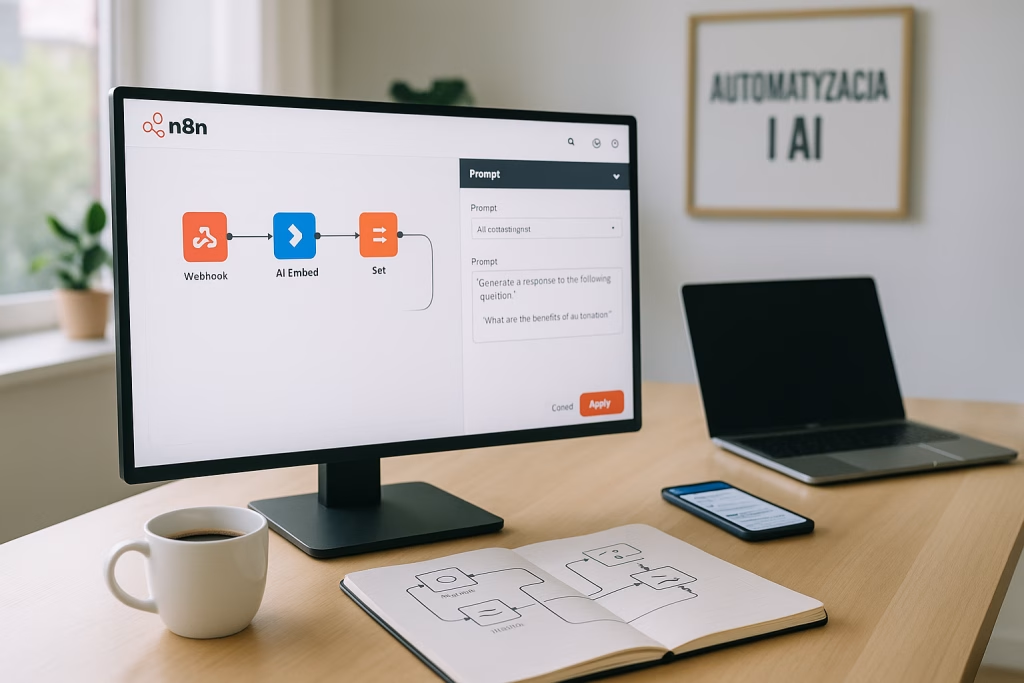
n8n’s approach is downright friendly. Everything’s built visually, with blocks called nodes joined like puzzle pieces. Here’s what I like: it feels a bit like (dare I say) LEGO for grownups. The foundation is your trigger node: this answers the question, “What event should start all the magic?”
Say you want weekly market updates and a snappy quote emailed to you every Sunday. A scheduled trigger is the obvious pick. You’ll:
- Hit ‘add node’ on the canvas.
- Pick a time-based trigger (look for “Interval” or “Cron”).
- Set it to run every week, on Sunday at noon. Simple. Reliable. No need to babysit your bot.
Setting Up the “Brain”: Adding an AI Agent
This is where it starts getting clever. Drop in a new node, select the AI category, and go for the AI Agent node. Think of this as sliding in the “brain” powering all your automation.
The agent has three key parts:
- The Chat Model: I usually go with OpenAI for its reliability and strong language skills, but you’ll see a selection. To connect, you’ll need an API key—one quick trip to the provider’s website, copy your secret code into n8n, and away you go.
- Memory: Without it, your agent is a goldfish. Switch on “Simple Memory” and, I promise, it’s like chatting with someone who actually remembers last week’s conversation.
- Tools: This is almost like giving your agent hands and eyes. Tools let it search Google, collect live data, fetch emails, whatever you fancy. For our market summary, I add a Google search node (hooked up through something like SERP API), using an API key from their site. Just paste it into n8n and you’re golden.
Testing the Waters: Run a Quick Agent Test
One thing I always do—before scheduling anything live—is add a “chat message received” trigger and ask, “What’s the latest market news and an inspirational quote?” That first run is your sanity check: it proves the AI model, memory, and tools are all cooperating. If the return looks good, you simply yank out the chat test trigger and button up the scheduled version.
Crafting the Perfect Prompt (Job Description)
Now for the real wizardry. AI agents are only as smart as their instructions. I’ve learned that being specific pays off handsomely. Instead of vague asks, give your agent a detailed “job description”. For our weekly summary newsletter, that looks like:
- “You are a weekly brief agent. Collect a quote of the week, a summary of the S&P 500, and write a one-sentence key takeaway for the reader. Format it in Markdown as a mini email newsletter. Use today’s date.”
This prompt sets clear boundaries and expectations; you’re no longer at the mercy of wishy-washy AI replies. Drag in the “readable date” variable from the dynamic data panel to make sure your summaries are timely—no manual updates needed.
From Markdown to Stylish Email: Making It Shine
Polishing Agent Output
The AI agent’s reply usually comes back in Markdown—great for basic formatting, but let’s face it, emails rendered in Markdown look shabby. Don’t worry, I’ve been there too. The trick is to pop in a data transformation node:
- Choose the Markdown-to-HTML converter node.
- Link it to your agent’s output.
- Run the step to produce clean, structured HTML.
That’s good, but I like to add a second AI model node, prompting it to inject some inline CSS for visual punch. My go-to instruction: “Make the HTML below look better using inline CSS for email. Create a tidy newsletter look. Output only the HTML.” Then, paste in the HTML output from above. This way, you get polished, ready-to-send email content that needs zero extra touch-up.
Sending Newsletters: Seamless Gmail Integration
Authenticating Gmail via Google Cloud
To send out our brilliant weekly updates, we need to connect n8n to Gmail, which admittedly takes a tad longer than your average plug-in-and-go. You’ll set up a Google Cloud project:
- Hop onto the Google Cloud Console, create a new project, and give it a memorable name (trust me, your future self will thank you).
- Search and enable the Gmail API in the “APIs & Services” section.
- Set up the OAuth consent screen – a quick form with your email, app name, and support info.
- Create OAuth credentials for a web app, using the redirect URI you’ll grab from n8n’s Gmail credential setup.
- Copy your Client ID and Client Secret straight into n8n.
- Finish authentication, granting all necessary permissions for a stable connection.
Once you’ve ticked all the boxes, n8n can send emails on your behalf, using the beautifully formatted output from your agent.
Final Touches: Launching Your Self-Sending Newsletter
Add a “Send message” node—point it at the recipient (yourself, your team, your nan—whoever should be kept in the loop), set a dynamic subject (like “Stock Updates, [Date]”), and paste in the HTML newsletter content as the message body. One more click, and you’re off. I tend to execute the workflow manually once for a final check; seeing that email land just as I want never gets old.
Activating and Customising Your AI Agent
Nearly there. At the top of your n8n console, click “Save,” then flip the toggle to “Active.” With one stroke, your weekly AI briefing is now on autopilot—fetching, writing, formatting, and sending everything, week in, week out, come rain or shine.
If you’re anything like me, ideas for upgrades and experiments will start bubbling up. The brilliance of n8n lies in being able to:
- Add logic for sending alerts only on significant market moves.
- Branch out with new nodes to handle sales data, CRM summaries, social media digests, or any other info you crave, using the same basic template.
- Refine or swap out AI models as new tools emerge (and you’ll be spoilt for choice by 2026, believe me).
Self-Hosting Advantages: Past the Hype
Now, take it from someone who’s argued the toss about cloud vs. self-hosted more times than I can count: for agents that work with large or frequent data, self-hosting is the way to go.
- Unlimited workflows per instance: No need to ration your imagination.
- Unrestricted concurrent execution: Let multiple agents do their thing at once.
- Your data, your rules: Decide what gets sent out and what stays private, which is a real advantage for compliance or just peace of mind.
- No random slowdowns: No more wrestling with cloud provider usage spikes or artificial bottlenecks.
From a business or team perspective, these points make a world of difference. I’ve seen companies that were pulling their hair out over cloud service limits, only to breathe easy (and save a tidy sum) switching to their own managed VPS with n8n.
Expanding Your AI Automations: Endless Possibilities
After my first “set and forget” agent delivered its weekly email, I instantly saw new frontiers:
- Morning dashboards, sales snapshots, social digests—all on autopilot.
- Meeting minutes, CRM or HR summaries, and even curated content digests for marketing, all spun off using variations of the agent workflow we’ve built here.
- Zero code, all visual, so even the less technically inclined can play and create value.
The beauty is, as you stack up more workflows, you build out your own private ecosystem—agents sharing info, handing off tasks, and picking up the slack on the dull stuff, freeing up your time for the work (and life) you actually care about.
Quick Reference: Building Your n8n AI Agent (2026 Edition)
- 1. Spin up n8n on a VPS: Pick a provider, get the n8n template, choose your server region, and set up your login. No sweat.
- 2. Create a new workflow: Add a recurring trigger: set it for weekly, Sunday noons (or your preferred slot).
- 3. Drop in an AI Agent node: Select chat model (like OpenAI), link up with your API key.
- 4. Enable simple memory: Agent remembers the running context and provides a more “human” experience.
- 5. Add the SERP API (or similar): Fetch live market data, quotes, and news.
- 6. Set a clear, detailed prompt: Specify agent role, output format (Markdown), and instructions.
- 7. Include dynamic variables: Personalise using today’s date and other workflow data.
- 8. Convert Markdown to HTML: Use a transformer node for clean email formatting.
- 9. Beautify with AI: Add inline CSS via a secondary AI model node.
- 10. Connect Gmail: Go through the Google Cloud steps, link up OAuth.
- 11. Send the email: Dynamic subject, formatted HTML body.
- 12. Save and activate: No more manual running. Enjoy your week!
A Few Pro Tips I’ve Picked Up Along the Way
- Be specific with prompts. Vague AI is a boring AI! Tell it what, how, and why.
- Test each node with sample data before stringing them all together. Saves a world of headaches.
- Keep your API credentials secure. Seriously—never share those keys. I’ve seen folks locked out more than once for a careless copy-paste.
- Use email tags like [date] in your subject lines for easy searching down the line.
- Don’t be shy to branch out. Grab integrations for sheets, Slack, or databases, and see what your agent can really do.
Conclusion: Your Automation Journey Starts Here
By following this hands-on tutorial, you’ll have built an AI agent in n8n—a reliable, customisable assistant that frees up hours every week. Once you get a taste, automation becomes rather addictive (in the best possible way). You’ll soon spot dozens of chores and business tasks ripe for delegation, letting you step back and focus on the things technology can’t do for you—at least not yet.
If you fancy trying this for yourself, I wholeheartedly recommend self-hosting n8n on a VPS. With the abilities at your disposal in 2026, you can craft agents that really work for you—no code, little fuss, and all the privacy and speed you could ask for.
Happy automating! And should you run into any sticky bits, remember: every expert started with their first workflow. I’ll be rooting for you from the other side of the screen.